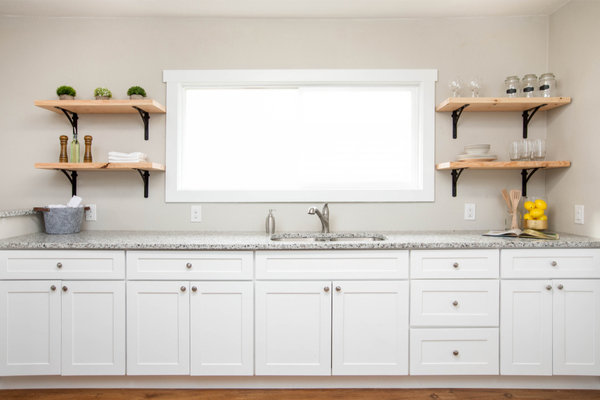
If you fancy yourself a Joanna Gaines-ey, Farmhouse Revival type, then this hack from the folks over at HGTV.com is for you. It’s actually easier than it sounds!
Tools and Materials You’ll Need:
- old barnwood
- shelf brackets
- miter saw
- safety glasses, face mask and gloves
- orbital sander
- fine-grit sandpaper
- polyurethane
- stud finder
- measuring tape
- level
- screws
- drill and various-sized bits
- screwdriver
- pencil
Now that you’ve got the goods, Here are the Steps:
Cut Wood to Size. Determine the size of your shelves and use a miter saw (or circular saw) to cut the wood. Make sure to wear proper protective gear while doing this.
Sand the Wood. Use a sander to smooth the edges of the wood and slightly round them over. Then use fine-grit sandpaper to remove any sanding marks and rough spots.
Apply Sealer. Apply three to four thin coats of polyurethane over the entire surface of the wood. Spray in a constant, even motion for the best results.
Attach Brackets to Wall. Use a stud finder to locate the studs in the wall and mark them with a pencil. Position the brackets on the wall and mark the screw placement of each bracket. Use a level to make sure they are even. Pre-drill the holes in the wall using a drill bit that coordinates with the size of the screws. Then screw the brackets to the wall.
Pre-drill Brackett Holes on Shelves. Lay the shelves on top of the brackets, and from the underside of the shelves, mark the placement of the screw holes. Remove the shelves then pre-drill for those screw holes. Pro Tip: Wrap the drill bit with tape at the proper depth so you don’t accidentally drill all the way through the wood.
Attach Shelves to Brackets. Place the shelf on the brackets and use a screwdriver to tighten the screws into place. Make sure everything is tight and even throughout this process.
Add Decor. When all the pieces are on the wall and screwed together, you are ready to decorate.
Congratulations! You did it!
—
Photo Credit: Duntrune Studios / Shutterstock.com
