With cold weather and the holidays upon us, this month’s to-do list focuses on some of the less obvious, but very important, indoor cleaning and repair tasks to get your home in tip-top shape for incoming family and guests. One of these overlooked, but necessary, to do items is giving some attention to the caulk around the bathtub. When the caulk gets cracked or falls out, water can get behind the tub and cause water damage to your home’s framing, as well as mold growth.
Inspect the caulk around your tub. If it’s worn or cracked (or stained and unsightly), it’s time to replace it, here’s how.
How To Replace Bathtub Caulk
- Use a putty knife or chisel to scrape out and remove the existing caulk, being careful not to scratch your bathtub.
- Use diluted bleach in a spray bottle to kill any mold or mildew growing in or around the tub joint.
- Dry the crack completely with a hairdryer.
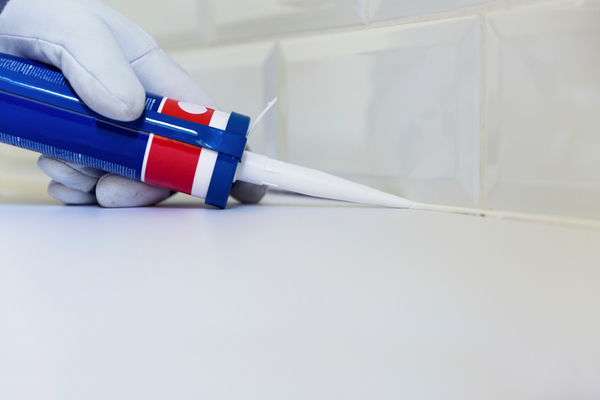
- Apply a bead of 100% silicone caulk to the joint between the tub and surround. Be sure not to overdo it, a narrow bead of caulk looks better than a wide one!
- Put on disposable gloves, then smooth out the caulk by misting caulk with denatured alcohol, or dipping your finger in mineral spirits, and running your finger along the caulk bead. For best results, smooth the entire bead with one stroke.
Done! Super easy, doesn’t take a lot of time, and you’ll be glad that growing, unsightly, unhealthy black mold spot behind your caulk is gone.
—
Photo Credit: Arturs Budkevics / Shutterstock.com
