Imagine this: You feel a winter chill and set the thermostat to stay nice and toasty. You then curl up on the couch and turn on the TV to enjoy a movie. But even with the heater cranked up, the room doesn’t seem to get any warmer. You reach for a throw blanket, but still feel cold; it’s just not comfortable and now you can’t even concentrate on the movie because you’re worried about why your home’s so cold and how this will affect your electric bill. If you’re like most homeowners, you probably don’t have to imagine any of this. It’s a reality, every fall and winter, like clockwork. It is possible that you could need more, or better, insulation.
Insulation has the most impact on your home’s energy efficiency, so it’s important to keep your attic well insulated and keep cold air out of living spaces. You can know a lot about insulation’s strength by its R-value, which ranges from 2.0 to 8.0 per inch of insulation. It’s pretty simple: The higher the R-value, the better job the insulation does. Fiberglass and cellulose insulation have R-values of 2.9 to 3.8 per inch while sprayed foam insulation can go as high as 8.0 per inch. Of course, despite sprayed foam insulation’s high R-value, it’s best to avoid if you live in an area with lots of termites.
As the weather gets colder, it’s a good idea to check your attic to make sure you have enough insulation and add more if you don’t. In most cases, you can add another layer of insulation on top of what’s already there, using rolls or batts of unfaced insulation or by blowing or spreading loose insulation. If your existing insulation is water-damaged or moldy, it will need to be removed and replaced. If your home currently doesn’t have attic insulation, the easiest DIY method is to install batts or rolls of insulation between the ceiling joists.
Installing Attic Insulation:
- Choose insulation with a paper vapor barrier of the same width as the spaces between your ceiling joists.
- Wear long pants and sleeves, gloves, a dust mask, and protective eyewear. Some insulation can be irritating to eyes, lungs, and skin; so cover up as much as you can.
- Carefully unroll the insulation between the joists, making sure the vapor barrier is facing toward the heated area of your home. In attics, this will mean the paper backing should face down toward the ceiling.
- Cut the insulation to length by laying it on a scrap of plywood, pressing it flat with a straight edge, and slicing with a utility knife.
- Make sure the insulation fits tightly between the joists, but not so tight that it’s compressed, since the insulating properties come from the air spaces within the batting.
If your attic already has insulation and you’d like to add more, follow the same steps as above, but use insulation that does not have a paper backing to prevent moisture from becoming trapped between the layers.
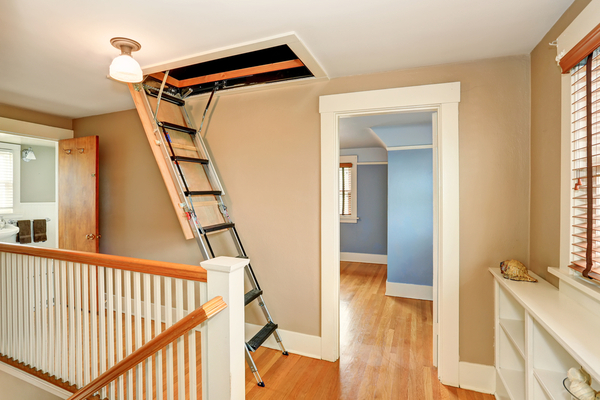
And while you’re checking the attic, have you considered those drop down attic stairs as a possible culprit to letting cold air in? Dropdown attic stairs are notorious for leaking precious heated air into the attic and reducing the energy efficiency of your home. Attic stair access covers are made of thin plywood, and the construction isn’t very tight, allowing heated air to escape.
There are several ways to Insulate your home’s Attic Stairs:
Seal Cracks:
The first step in any attic stair insulation project is to seal any cracks. Small cracks and joints can be sealed with caulk while larger gaps can be filled with expandable spray foam.
Install Weatherstripping:
Another easy solution is to install strips of foam weatherstripping around the opening of the stairs. Cut the strips to fit the opening of your attic stairs, then stick the self-adhesive strips in place where the door meets the frame. When the door closes against the foam, it’ll create an airtight seal that will cut out a lot of air infiltration.
Build an Insulating Stair Cover:
A more ambitious project is to build an insulating foam board box:
- Cut four pieces of foam a bit taller than the closed stairs for the sides.
- Attach the sides together into a box using metallic duct tape
- Tape the box down to the attic floor.
- Apply foam weatherstripping to the top of the box.
- Cut a piece of foam board for the lid.
- Attach the foam board lid to the box with tape.
Install a Ready-Made Insulating Stair Cover:
You can also buy and install a premade attic stair cover. These covers are made to fit standard sizes of pull-down attic stairs. Some attic stair covers attach to the floor and are closed and opened with a zipper, while others are positioned over the opening in the attic and lifted off when access to the attic is needed.
—
Photo Credit: Artazum / Shutterstock.com
